This guide takes you from a new account to your first chatbot audit report, so you can see which customer questions your chatbot answers well, which it gets wrong, and what those mistakes could cost your business.
Before you start
- A work email address. No credit card is required to sign up.
- The address of the website where your chatbot lives. No website? You can test your chatbot against your own documents instead (see Upload documents and knowledge).
- Permission to test the chatbot. Audits send many test messages to it, including harmless security probes.
Step by step
1. Create your account
Open the sign-up page and fill in Full name, Work email, Company (optional) and Password. Your password needs at least 10 characters with upper and lower case letters and a number. Type it again in Confirm password, tick the box to agree to the Terms and Privacy Policy, then click Create account.
If you see a Continue with Google or Continue with GitHub button, you can use that instead.
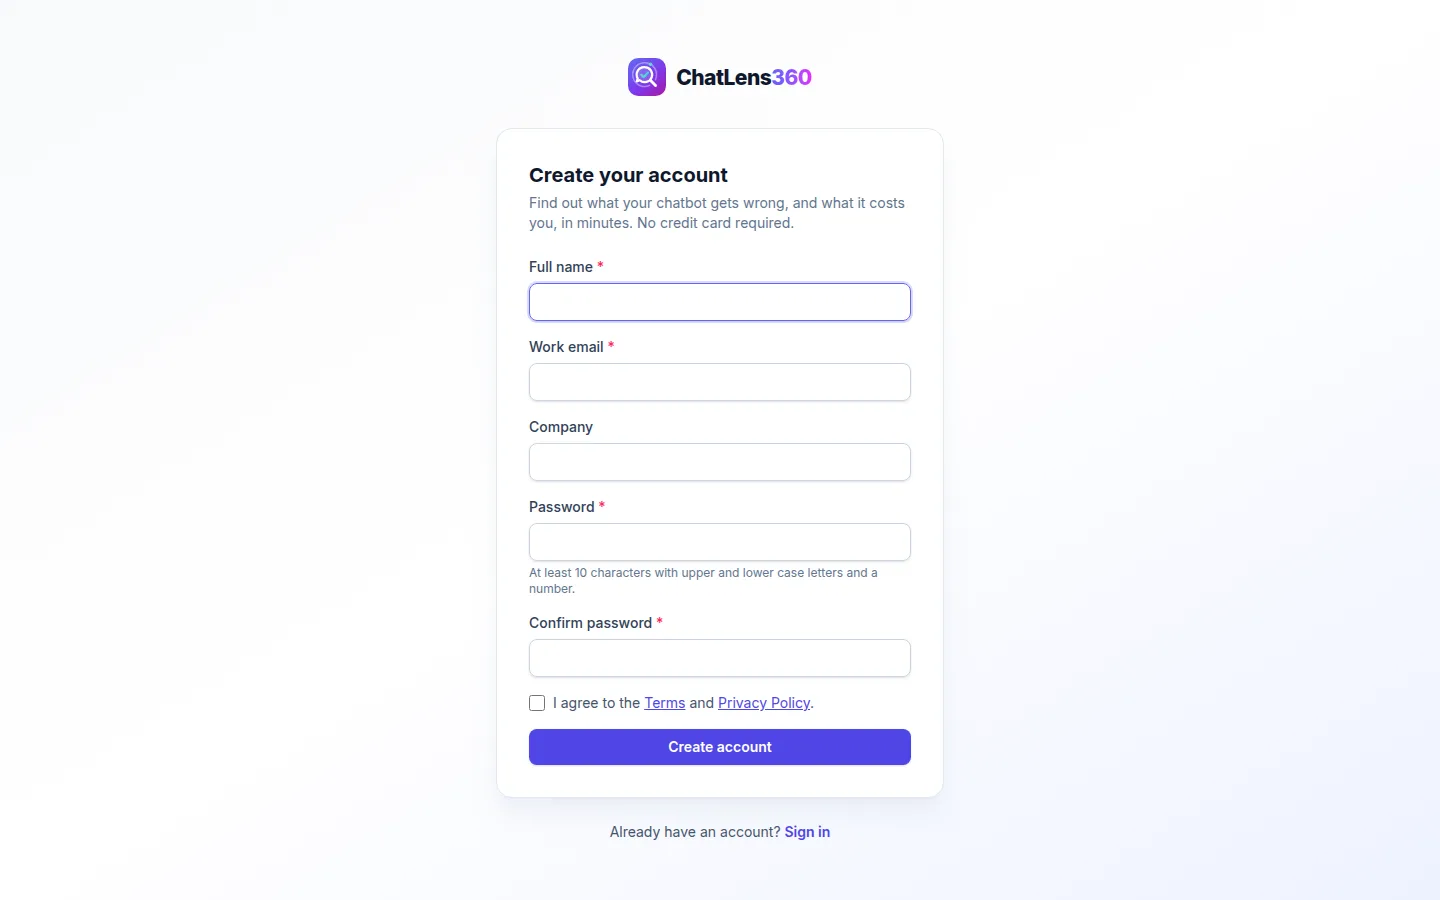
If we ask you to confirm your email address, click the link in the email we send you. We create your first workspace automatically and open the setup wizard.
2. Add your website in the setup wizard
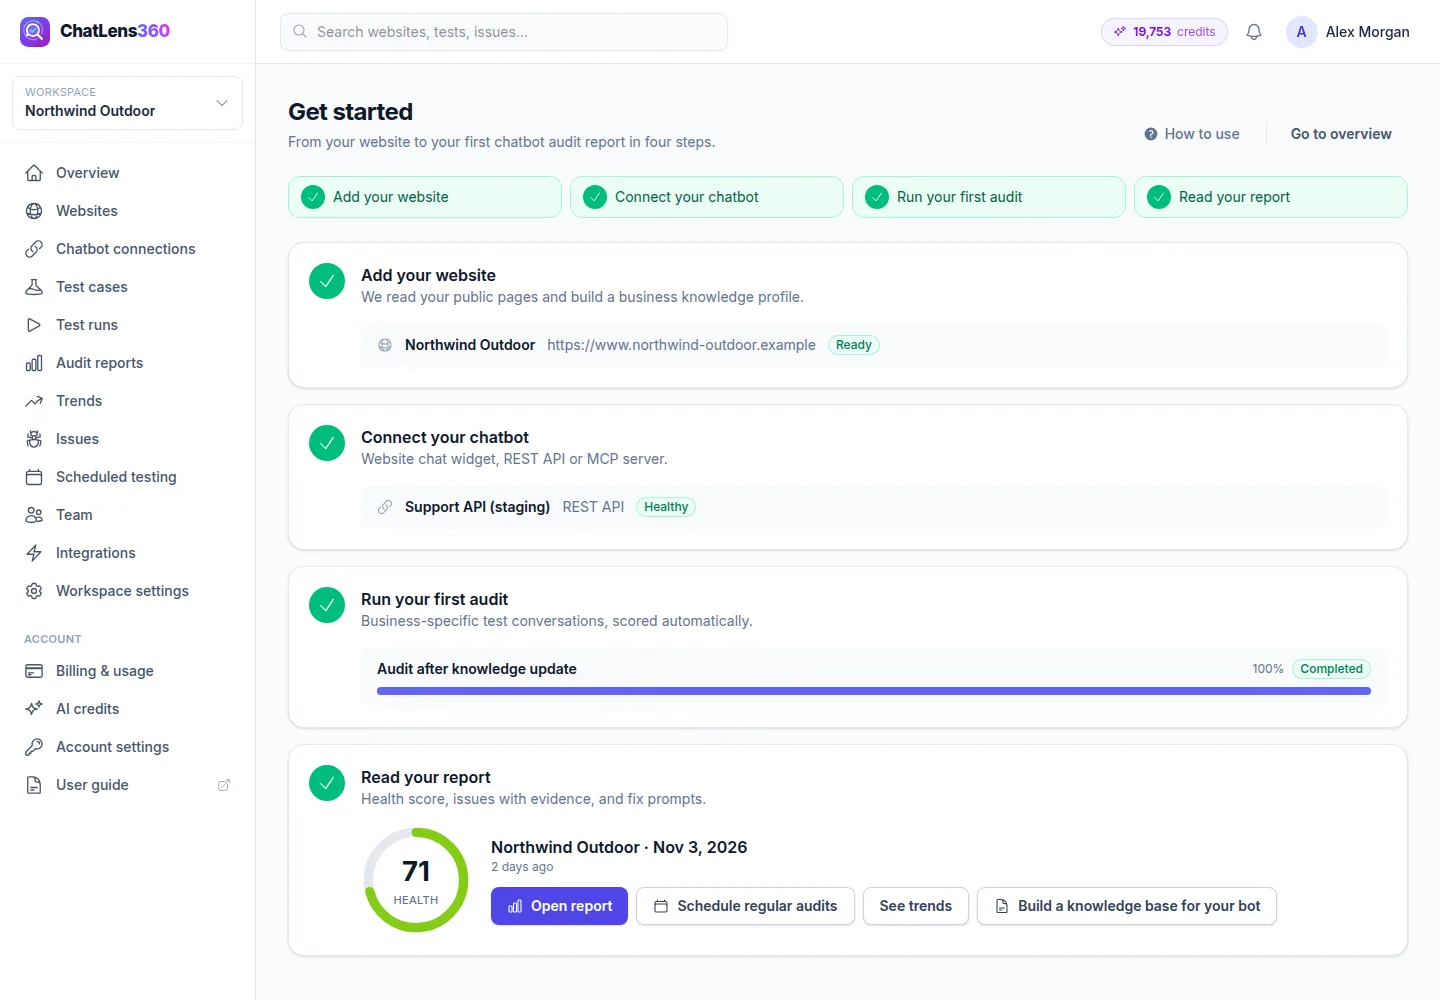
The Get started page walks you through four steps: Add your website, Connect your chatbot, Run your first audit and Read your report. A progress bar at the top shows where you are.
In the first card, enter your Website URL, a Name (for example "Northwind Outdoor") and the Language your customers use, then click Add website & start reading. While we show Reading your website…, you can carry on with the next step.
No website? Tick No website? Test my chatbot with my own documents instead, click Create project, and upload files or paste your FAQ in the same card.
3. Connect your chatbot
In the Connect your chatbot card, pick how we should talk to your bot:
- Chat widget on my site: click Use my website widget. We open your page in a browser and find the chat bubble automatically. No setup needed.
- REST API: your bot has an HTTP endpoint. Click Configure to enter its details.
- MCP server: your agent is exposed as a Model Context Protocol tool. Click Configure.
Once connected, click Send a test message to check it if it is not marked healthy yet. See Connect your chatbot for details.
4. Start your first audit
The Run your first audit card lists the test areas we will check, using our free test library, so the first audit uses none of your AI generation allowance. Tick I am authorized to test this chatbot and click Start my first audit.
If the button says Waiting for the website crawl…, it becomes available once we finish reading your site. While the audit runs, click Watch it live or leave the page; we email you when it finishes.
5. Open your report and find your way around
When the audit is done, the Read your report card shows your health score. Click Open report to see every issue with evidence and a suggested fix. From the same card you can also Schedule regular audits, See trends or Build a knowledge base for your bot.
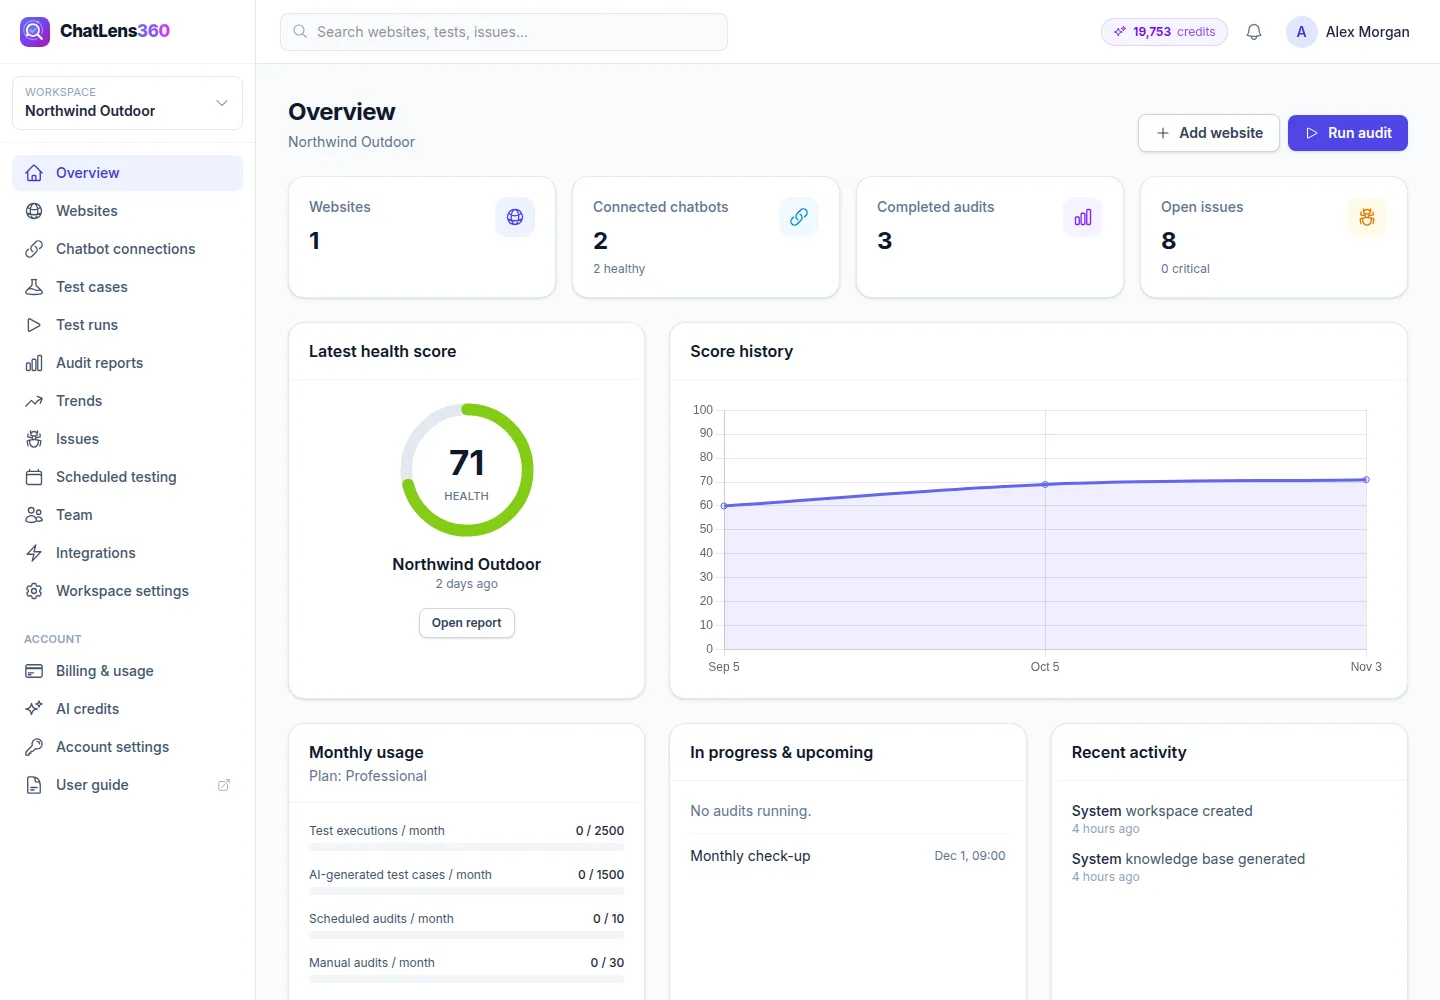
Afterward, the Overview page is your home base. It shows your websites, connected chatbots, completed audits and open issues, plus your Latest health score, Score history and Monthly usage.
Tips
- Not technical? Choose the chat widget option. It needs no code and tests exactly what your customers see.
- Skipped the wizard? Click Open the setup wizard on the Overview page until you have finished all steps.
- Read the high-severity issues first. A wrong refund or pricing answer costs more than a clumsy greeting.
- Schedule a monthly audit once you have fixed the first issues, so you notice when a change breaks your bot.
Troubleshooting
- The wizard says "We could not read this website." — Check the URL on the website page and crawl again. Audits still work but are less specific until we can read your site.
- "Please confirm you are authorized to test this chatbot." — Tick the authorization box before you click Start my first audit.
- "No starter categories are included in your plan." — Your plan does not include the starter test areas. Check your plan under Billing & usage.
- "Ask a workspace admin to add a website." — Your role cannot make this change. Ask the owner or an admin.
Related guides
Still stuck? Contact us and we will help, or let our team set it up and fix it for you.